The LogProduct
How to Stop Your Boat From Rolling at Anchor
Tired of your boat rolling at anchor? Discover effective solutions like swell bridles, stern anchors, and flopper-stoppers to stay steady.
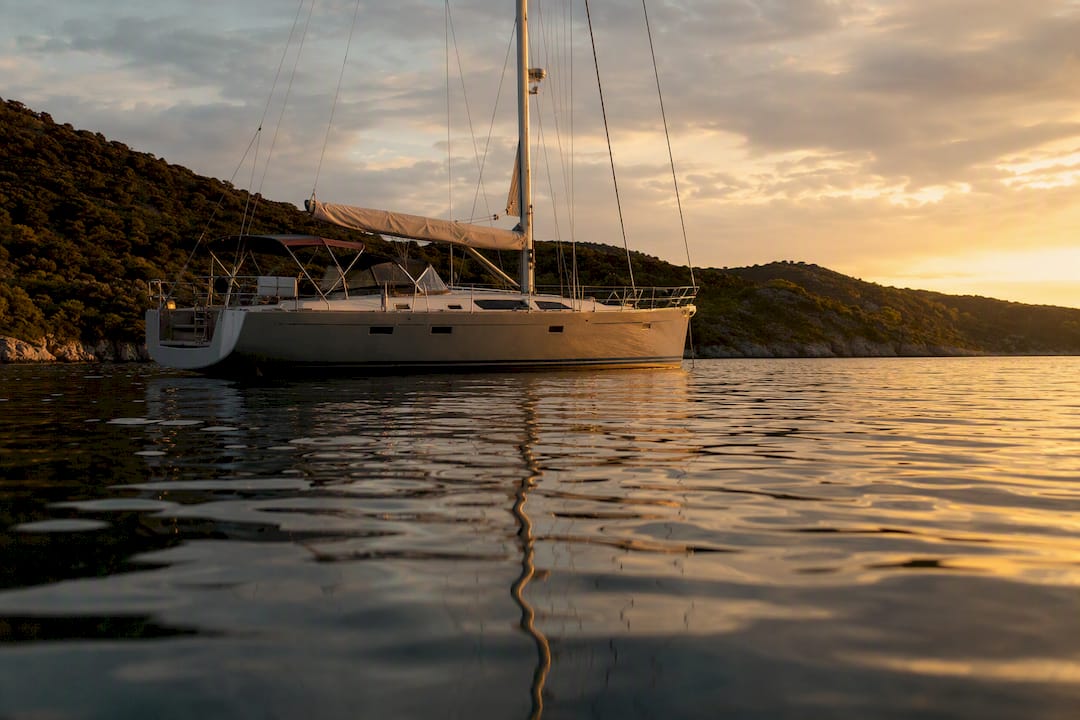
If your boat is rolling at anchor, three fixes work faster than anything else: rig a swell bridle to turn the bow toward the waves, deploy a stern anchor to hold that alignment, or hang a flopper-stopper off the beam when you can’t reposition at all. Each one solves a slightly different problem, and picking the wrong one wastes a calm evening arguing with a snubber line at 2 a.m.
A swell bridle works best when wind and swell come from different directions and you just need to nudge the bow ten or twenty degrees. A stern anchor holds that heading permanently in a bay where the current keeps swinging you broadside. A flopper-stopper doesn’t change your heading at all. It just damps the roll mechanically, which makes it the right call when the anchorage is too crowded to swing a second rode or the bottom won’t hold a stern hook.
- Swell bridle — best for moderate, one-directional swell with light wind
- Stern anchor — best when wind and current fight each other constantly
- Flopper-stopper — best in tight anchorages where you can’t reposition
None of these are free. A stern anchor doubles your ground tackle and your drag risk in a crowded harbor, so treat it as a tool for open, uncrowded water, not a marina mooring field.
Key Takeaways
Preventing roll at anchor starts with matching your anchorage choice to the swell forecast, and when that fails, a bridle, stern anchor, or flopper-stopper fixes it on deck.
| Point | Details |
|---|---|
| Resonance drives severity | Roll gets worse when wave period matches your boat’s natural roll period, not just when waves get bigger. |
| Bridle first, stern anchor second | Use a swell bridle for moderate, one-directional swell; switch to a stern anchor when current keeps shifting. |
| Flopper-stoppers need depth and spacing | Deploy below surface turbulence with equal-length bridle lines, and space the device wide for better damping. |
| Know your drag signs | Watch a fixed shore bearing and chain tension; steady bearing drift or slack-then-snap tension means you’re dragging. |
| Prevent it with forecast data | Nausika surfaces swell direction, period, and harbor notes inside your AI assistant so you can pick a protected bay before you anchor. |
Table of Contents
- What Causes Rolling at Anchor?
- How Do You Pick an Anchorage That Won’t Roll?
- Ranked Fixes: Bridles, Stern Anchors, and Stabilizers
- Step-By-Step: Rigging a Bridle and Stern Anchor
- When These Techniques Stop Working
- Using Forecasts to Avoid Rolling Before It Starts
- How Nausika Helps You Avoid Rolly Anchorages
- Sources
What Causes Rolling at Anchor?
A boat rolls at anchor when waves hit it from the side instead of the bow. That happens more often than most sailors expect, because a boat swings on its rode to face the wind or current, not the swell. When those two forces point in different directions, which they often do near headlands or in tidal channels, the hull ends up beam to the waves with nothing to stop it from rocking.
The damage isn’t just physical discomfort. Research from Curtin University’s seakeeping study on yachts at anchor found that a boat’s roll response depends heavily on its keel shape, appendage geometry, and how closely the incoming wave period matches its own natural roll period. When those two numbers line up, even small waves can produce a nasty resonant roll, the kind where each wave adds energy to the last one instead of just rocking the boat and moving on.
That resonance effect explains why two boats anchored fifty feet apart can have completely different experiences in the same swell. A beamy catamaran and a narrow-keeled sloop have different roll periods, so the same wave train that barely bothers one boat can send the other one rail to rail.
Here’s the part that catches new anchorers off guard: the stabilizing effects you rely on underway disappear the moment you stop moving.
- Forward speed keeps water flowing over the keel and rudder, generating lift that resists roll
- A moving hull has directional momentum that dampens sideways motion
- At anchor, none of that exists. You’re a static object absorbing every wave broadside
According to American Sailing’s guide on swell bridles, rolling at anchor typically starts the moment your bow and stern lose alignment with oncoming waves, and it gets worse as wave frequency approaches your boat’s natural roll rate. That single mismatch, heading versus wave direction, is the root cause behind nearly every rolly night at anchor.
How Do You Pick an Anchorage That Won’t Roll?
The best fix for rolling at anchor is never dropping the hook somewhere it happens in the first place. A five-minute check before you set the anchor saves hours of misery later, and it costs nothing but attention to the chart.
- Check the depth contours and headland shape. Swell wraps around points and shoals the way light bends through a lens. A bay that looks tucked behind a headland on the chart can still catch refracted swell if the seabed slopes the wrong way.
- Trace the fetch corridor. Look at how much open water lies upwind or up-swell of your intended spot. A long, unobstructed stretch of water, even a few miles, gives waves room to build before they reach you.
- Pull the swell forecast, not just the wind forecast. Wind and swell direction diverge constantly, especially after a frontal passage. A bay sheltered from a 15-knot northerly can still be wide open to a leftover swell running from the southwest.
- Ask someone who anchored there last week. Cruising forums, harbor masters, and other boats on the radio often know a bay’s swell habits better than any chart.
- Orient your boat to the waves when you have a choice of spots. A slightly less protected position with the swell hitting your bow beats a “sheltered” cove that puts it on your beam.
Swell frequently wraps around coastal points into bays that look protected on a chart, which is exactly why relying on wind-only shelter assessments leaves you exposed more often than sailors expect, according to findings on where swell data actually comes from.
Pro Tip: Before you commit to an anchorage, check whether the swell period listed in your forecast is anywhere near your boat’s roll period. If they’re close, that bay will roll even if it looks glassy calm when you arrive.
Ranked Fixes: Bridles, Stern Anchors, and Stabilizers
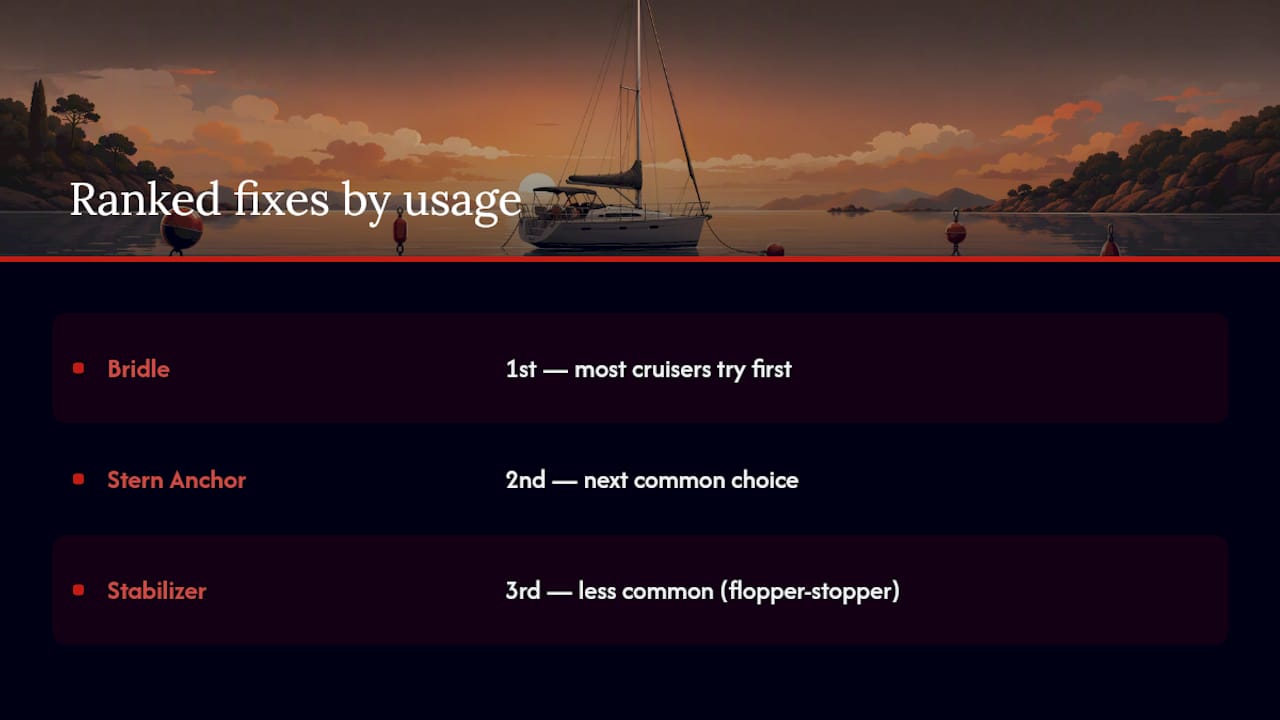
Once you’re anchored and rolling, the order of operations matters. Here’s how the main techniques stack up by how often they solve the problem, starting with the one most cruisers reach for first.
1. The swell bridle
A swell bridle, sometimes called an anchor side tie, runs a line from your main anchor rode back to a stern cleat, letting you pivot the bow away from the wind and toward the oncoming swell. It’s the fastest fix to deploy because it uses gear you already have aboard, and it doesn’t require setting a second anchor.
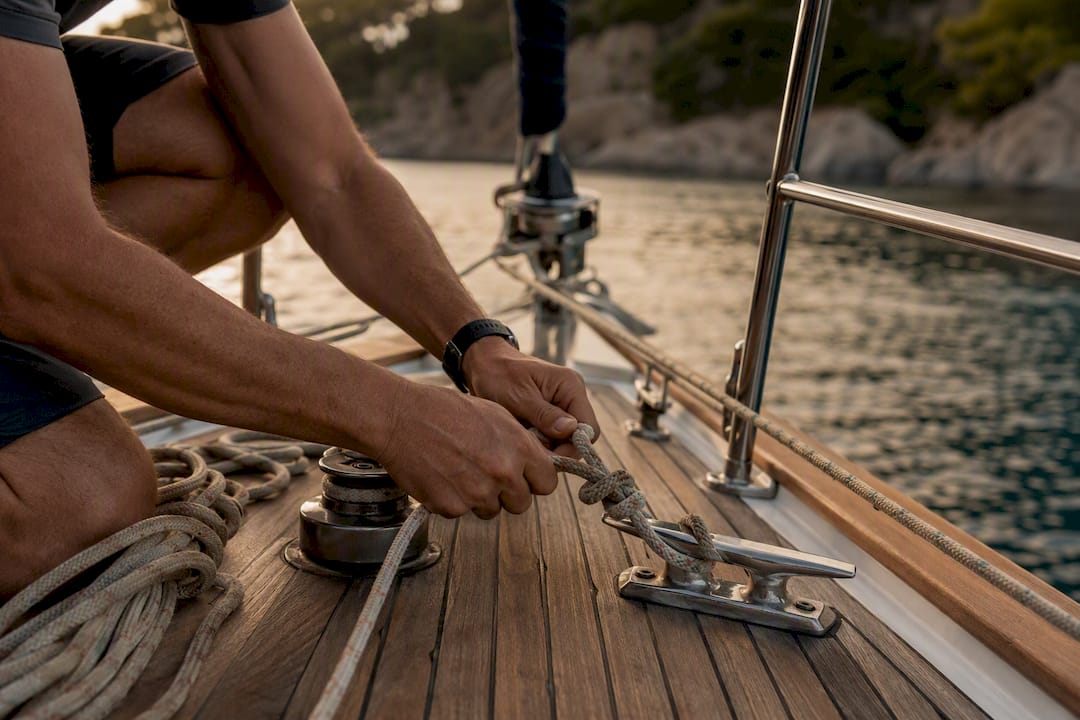
The rig: after your primary anchor is set and the boat has settled, take a line from a stern cleat forward to the anchor rode (or a separate bridle plate on the chain) and adjust its length until the bow points into the swell. American Sailing’s bridle guide recommends monitoring wind shifts closely, since a bridle holds your heading against the wind’s natural tendency to swing the bow, and a sudden wind shift can put unexpected load on that stern line.
The limits are real. A bridle works well in moderate swell with steady wind, but it fights a losing battle against strong gusts or a hard current change. If the wind builds past 20 knots, the load on that stern cleat climbs fast, and cleats built for docklines were never meant to hold a boat broadside to a gust.
2. The stern anchor
When wind and current fight each other all night, a bridle alone won’t hold your heading. A second anchor set off the stern locks your orientation in place instead of relying on tension against a single point.
The common pattern: drop your primary bow anchor first and let it set, then motor slowly toward the swell direction while paying out stern rode, and set the stern anchor with a firm reverse pull. This gives you a fixed heading regardless of what the wind or current wants to do. It’s the most reliable fix for anchorages with rotating current, like river mouths or narrow channels between islands.
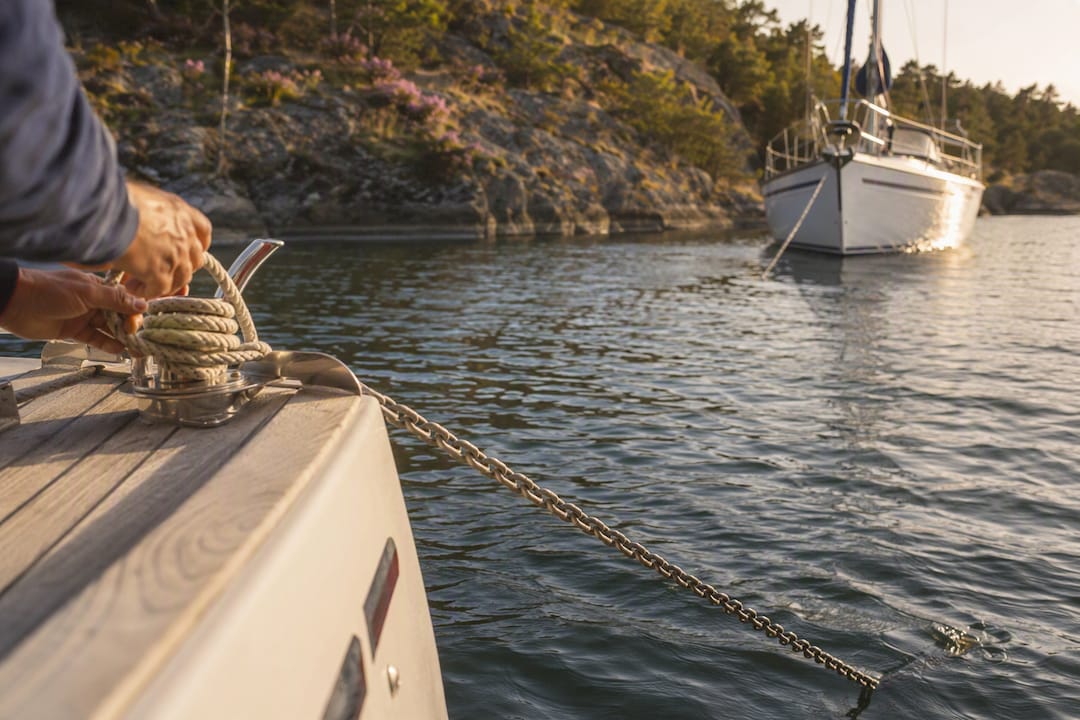
The trade-off is real gear and real risk. You’re now managing two anchors, two rodes, and double the chance of one dragging or fouling the other. In a crowded anchorage, a stern anchor rig also takes up more swing room than boats around you might expect, which creates friction with neighbors who assumed you’d swing freely like everyone else.
3. Flopper-stoppers and stabilizers
A flopper-stopper doesn’t change your heading at all. It’s a weighted plate or paravane lowered on a pole or spinnaker halyard off the beam, and it damps roll through drag resistance as the boat tries to rock.
Sizing and depth matter more than most first-time users expect. All At Sea’s guide to stopping rolling at anchor notes that a larger plate and wider spacing from the hull both improve damping, while shallow deployment near the surface loses effectiveness in the turbulent water right at the wave line. Sailing Today’s guidance on staying comfortable at anchor adds a practical detail: rig the device with equal-length bridle lines on either side, or it will spin and lose its resistive drag entirely.
Field reports back this up. One account of testing stabilizers at anchor found that simply moving them farther out from the hull measurably increased the damping effect, a detail few manufacturers mention in their instructions.
4. Drogues and drogue-like devices
A drogue, typically deployed off the stern in a strong current to slow drift, can add some roll damping in the right conditions, but it’s not built for this job. It works when there’s enough current flow to keep it loaded and streaming; in calm water with pure swell-driven roll, a drogue often just hangs limp and does nothing useful.
5. Improvised fixes: sail and dinghy tricks
Setting a small steadying sail, or lashing the dinghy to the boom and swinging it out to leeward, can reduce roll in a pinch. According to a detailed account from YACHT on what actually helps against anchor roll, the boom-and-dinghy trick does cut motion, but it also puts unusual, alternating loads on the boom vang and gooseneck fittings that weren’t designed for that kind of stress overnight.
Pro Tip: If you improvise with a sail or dinghy rig, check the fittings before you go to sleep and again a few hours later. Loads on those points aren’t constant, they spike with every roll cycle.
Step-By-Step: Rigging a Bridle and Stern Anchor
Getting the gear right before you leave the dock saves a lot of fumbling on deck in the dark. Here’s what to have aboard and how to deploy it in order.
Gear checklist:
- Two lengths of three-strand nylon line, at least 50 feet each, sized to your primary rode
- A second anchor (a smaller secondary is fine for stern duty) with 15 to 20 feet of chain
- Spare shackles, rated for your anchor’s working load
- Chafe guards or old fire hose sections for any line running over a rail or chock
- A fender or float to mark your stern anchor’s position
Rigging the swell bridle:
- Let your primary anchor set fully and confirm it’s holding before touching the bridle.
- Tie a bowline in one end of your bridle line and clip it to the anchor chain with a shackle, or use a rolling hitch if you don’t want to break out the rode.
- Run the other end back to a stern cleat or genoa winch, leaving slack.
- Slowly take up tension on the stern line while watching your bow swing toward the swell.
- Cleat off once the bow points where you want it, and add a chafe guard anywhere the line touches a rail.
Deploying and retrieving a stern anchor:
- Set the bow anchor first and confirm it’s dug in with a reverse-pull test.
- Motor slowly toward the swell direction, paying out stern rode from a locker or bucket to avoid tangles.
- Drop the stern anchor and back down firmly to set it.
- Mark the stern rode’s position with a small float, which makes retrieval far easier and keeps it from fouling the bow rode when you recover both anchors, a detail confirmed by All At Sea’s stern anchor guidance.
- To retrieve, always bring in the stern anchor first, then motor forward to the bow anchor’s position before hauling it, so you never cross the two rodes underway.
Check both lines periodically for chafe, especially anywhere they run over a rail, chock, or through a fairlead. A line that’s fine at 8 p.m. can be half worn through by 3 a.m. if it’s rubbing with every roll cycle. Watch your GPS track too. Small, repeated position drift is often the first sign a bridle or stern rig is dragging before you’d notice it any other way.
When These Techniques Stop Working
Every fix in this guide has a breaking point, and knowing where that line sits matters more than knowing the technique itself.
- High wind kills bridle effectiveness. Past roughly 20 knots, the load on a stern cleat rigged for a bridle climbs to levels the hardware was never built for, and a failure there can swing your bow broadside instantly.
- Shifting currents defeat stern anchors. A stern anchor holds a fixed heading against one current direction; if the current reverses on a tide change, you can end up anchored bow to stern with both rodes under load in the wrong direction.
- Crowded anchorages amplify drag risk. Curtin University’s seakeeping research notes that roll response varies significantly by hull design, which means your neighbor’s boat may swing completely differently than yours in the same conditions, a mismatch that turns a two-anchor rig into a collision risk in a tight anchorage.
How do you know you’re dragging instead of just rolling? Watch a fixed landmark ashore against your rigging. If that bearing changes steadily rather than swinging back and forth, you’re moving. GPS anchor alarms catch this too, but they lag behind a visual bearing check by a few minutes in most cases. A sudden change in chain tension, going slack then snapping taut, is another early tell that your anchor has broken free and is skipping along the bottom.
If gear fails or you start dragging in worsening conditions, don’t troubleshoot in place. Release the bridle or stern line immediately so your boat can weathervane naturally into the wind, retrieve what you can safely, and motor to deeper water or a known sheltered mooring rather than trying to re-rig in the dark with deteriorating conditions.
Using Forecasts to Avoid Rolling Before It Starts
Every technique above treats a symptom. The better fix happens before you ever drop the hook, and it comes down to reading the right forecast data instead of just checking wind speed.
Three numbers matter more than anything else: swell direction, swell period, and significant wave height. American Sailing’s forecasting guidance recommends checking swell period specifically against your boat’s own roll period, since a match between the two is what triggers the resonant rolling that no bridle fully solves. Wave height tells you how much energy is in the swell train; direction tells you whether a headland will actually block it or just redirect it into your anchorage.
- Swell direction: does it line up with any gap, channel, or low point in the coastline near your intended anchorage?
- Swell period: does it fall close to your boat’s natural roll period? If so, expect trouble even in a “protected” bay.
- Significant wave height: even a small swell can roll a boat badly if the period matches resonance.
Cross-referencing that forecast data against depth contours and headland shape is exactly the kind of check that’s easy to skip when you’re tired and just want to anchor. This is the gap Nausika was built to close. Instead of manually cross-checking a swell forecast against a chart and hoping you read the contours right, Nausika connects directly to your AI assistant with validated marine data, flagging exposure to swell wrap and refraction before you ever set the hook.
Pro Tip: Check your swell forecast the night before and again the morning you arrive. Swell direction shifts faster than most sailors expect, sometimes rotating 30 degrees or more within twelve hours after a frontal system passes offshore.
A rule of thumb worth remembering
If you can’t point your bow within 30 degrees of the dominant swell direction using wind alone, don’t fight it with a bridle and hope. Set a stern anchor or move. That threshold isn’t arbitrary. Past roughly 30 degrees off the swell line, the beam-on wave energy hitting your hull grows fast enough that a bridle’s modest heading correction won’t get you comfortable, it’ll just add another line to manage while you still roll.
The anchorages that catch experienced sailors off guard are rarely the exposed, obviously rough ones. It’s the pretty cove tucked behind a headland, wind dead calm, that turns miserable at 1 a.m. when a leftover swell wraps around the point nobody thought to check on the chart.
— Andrea
How Nausika Helps You Avoid Rolly Anchorages
Nausika gives your AI assistant something most navigation tools can’t: validated swell data pulled directly from marine sources, not a generic forecast summary that skips the details that actually predict roll. Ask it about an anchorage and it can flag whether swell wraps around a nearby headland, cross-reference that against depth contours, and surface curated harbor notes from sailors who’ve anchored there before.
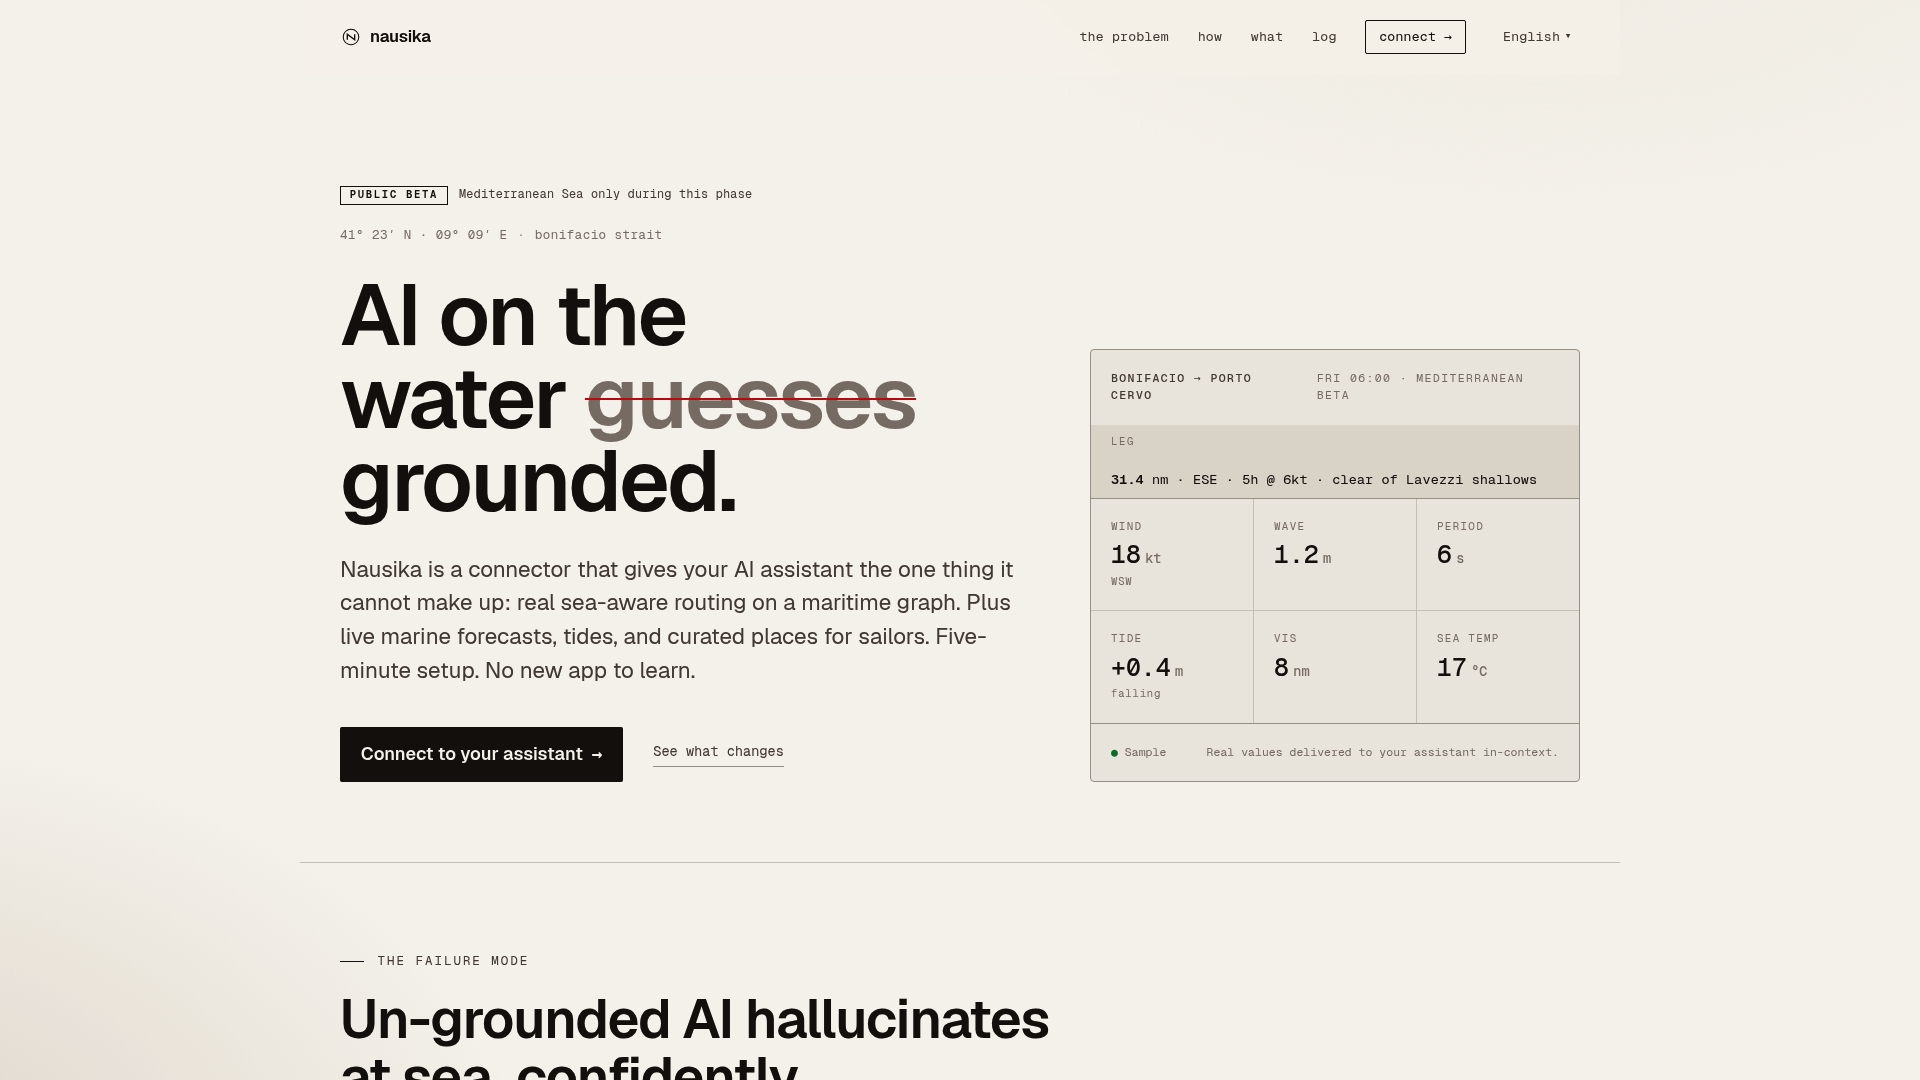
A typical workflow looks like this: check tomorrow’s swell direction and period through your assistant, ask it to flag any headlands or fetch corridors near your planned anchorage, then compare two or three protected bays before you ever pull up the chart plotter. That five-minute check, done the night before instead of after you’ve already dropped the hook and started rolling, is the difference between a comfortable night and a 2 a.m. bridle rig by headlamp.
Nausika runs as a connector inside the AI assistant you already use, so there’s no new app to learn and no separate subscription to a chart service you’ll forget to renew. If you want to see how it handles your next passage plan, visit Nausika’s real-time marine data platform and connect it before your next trip.
Sources
- Mastering the swell bridle — American Sailing
- Roll motion of yachts at anchor — Curtin University / QinetiQ paper
- How to stop your boat from rolling at anchor — All At Sea